This is a companion guide to the “Build Your First Generative AI Chatbot” video from AI Made Simple. See the full video here.
Follow the steps below to create your chatbot using Next.js and GPT-4o-mini. No coding experience required.
Prerequisites
- Node.js: Download Node.js
- Visual Studio Code: Download VS Code
- OpenAI API Key: OpenAI
Guide
Step 1: Set Up Your Project
- Open Visual Studio Code.
- Create a new folder for your chatbot.
- Right-click the folder →
Open in Integrated Terminal. - Paste this command in the terminal:
npx create-next-app@latest chatbotAnswer the setup questions as follows:
- TypeScript: No
- ESLint: Yes
- Tailwind CSS: Yes
src/directory: No- App Router: Yes
- TurboPack: No
- Import Alias: No
Step 2: Set Up Your Chatbot Files
Your project structure should look like this:
chatbot
 ├── app
 │   ├── api
 │   │   └── chat
 │   │       └── route.js
 │   └── page.js
 └── .env.local
Replace page.js with this:
'use client';
import { useChat } from '@ai-sdk/react';
export default function Chat() {
const { messages, input, handleInputChange, handleSubmit } = useChat();
return (
<main className="flex flex-col items-center w-full max-w-md py-24 mx-auto">
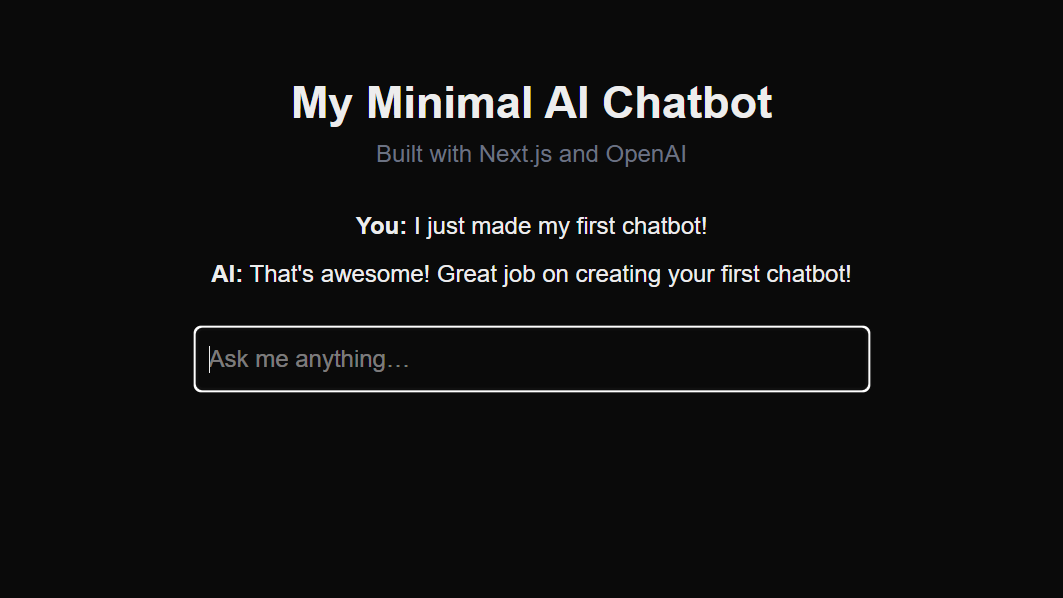
<h1 className="text-3xl font-bold mb-1">My Minimal AI Chatbot</h1>
<p className="text-gray-500 mb-6">Built with Next.js and OpenAI</p>
{messages.map(m => (
<div key={m.id} className="whitespace-pre-wrap mb-2">
<strong>{m.role === 'user' ? 'You:' : 'AI:'}</strong>{' '}
{m.parts.map((p, i) => (p.type === 'text' ? <span key={i}>{p.text}</span> : null))}
</div>
))}
<form onSubmit={handleSubmit} className="mt-4 w-full">
<input
value={input}
onChange={handleInputChange}
placeholder="Ask me anything…"
className="w-full p-2 border rounded shadow"
/>
</form>
</main>
);
}Create route.js inside /app/api/chat/ with this:
import { openai } from '@ai-sdk/openai';
import { streamText } from 'ai';

export const dynamic = 'force-dynamic';

const SYSTEM_PROMPT =
  'Your name is Mike and you run a youtube channel called AI Made Simple where you demonstrate to non-technical people who to use generative AI.';

export async function POST(req) {
  const { messages } = await req.json();

  const result = streamText({
    model: openai('gpt-4o-mini'),
    messages: [{ role: 'system', content: SYSTEM_PROMPT }, ...messages],
  });

  return result.toDataStreamResponse();
}
Create .env.local in your project root:
OPENAI_API_KEY=your-api-key-hereReplace your-api-key-here with your actual OpenAI API key.
Step 3: Install Dependencies and Run Locally
In the integrated terminal, ensure you’re in your chatbot directory (cd chatbot) and run:
npm install @ai-sdk/react @ai-sdk/openai aiThen start your chatbot locally:
npm run devVisit http://localhost:3000 to see your chatbot running.
Step 4: Publish Your Chatbot on GitHub
- GitHub: Create GitHub account
- Git: Download Git
- Vercel: Create Vercel account
- Connect VS Code to GitHub:
- Press
F1→ typeGitHub→GitHub Pull Requests: Sign into GitHub. - Note: If you don’t see it, you might need to use the VS Code side bar “Extensions” tab and install an extension called “GitHub Pull Requests”
- Press
- Use the Source Control tab on the left of VS Code
- Commit your code.
- Optional: Add a Commit message
- Publish your code to Github
- Optional: Add a Publish message
Step 5: Deploy Your Chatbot on Vercel
- Log into Vercel.
- Import your GitHub repository.
- Add your API key as an environment variable.
- Deploy your chatbot.
Your chatbot is now online and ready to share.
Updating Your Chatbot
To update your chatbot:
- Make changes and save in VS Code.
- Use the Source Control tab on the left.
- Commit changes and push to GitHub.
Vercel automatically updates your chatbot upon detecting changes.
Enjoy customizing and using your first generative AI chatbot!